How it works
From download to van, no CAD skills needed
You choose and assemble. A machine does the cutting. This is the whole process, with what you need to ask for and buy at each step.
- 01
Choose the design for your van
Filter by model and area, check the measurements on the product page and pay online. No account needed beforehand: we create your access with your email.
- Check your van's measurements against the datasheet; models vary by year.
- If your van is not on the list, the universal accessories fit anyway.
- 02
Download the pack
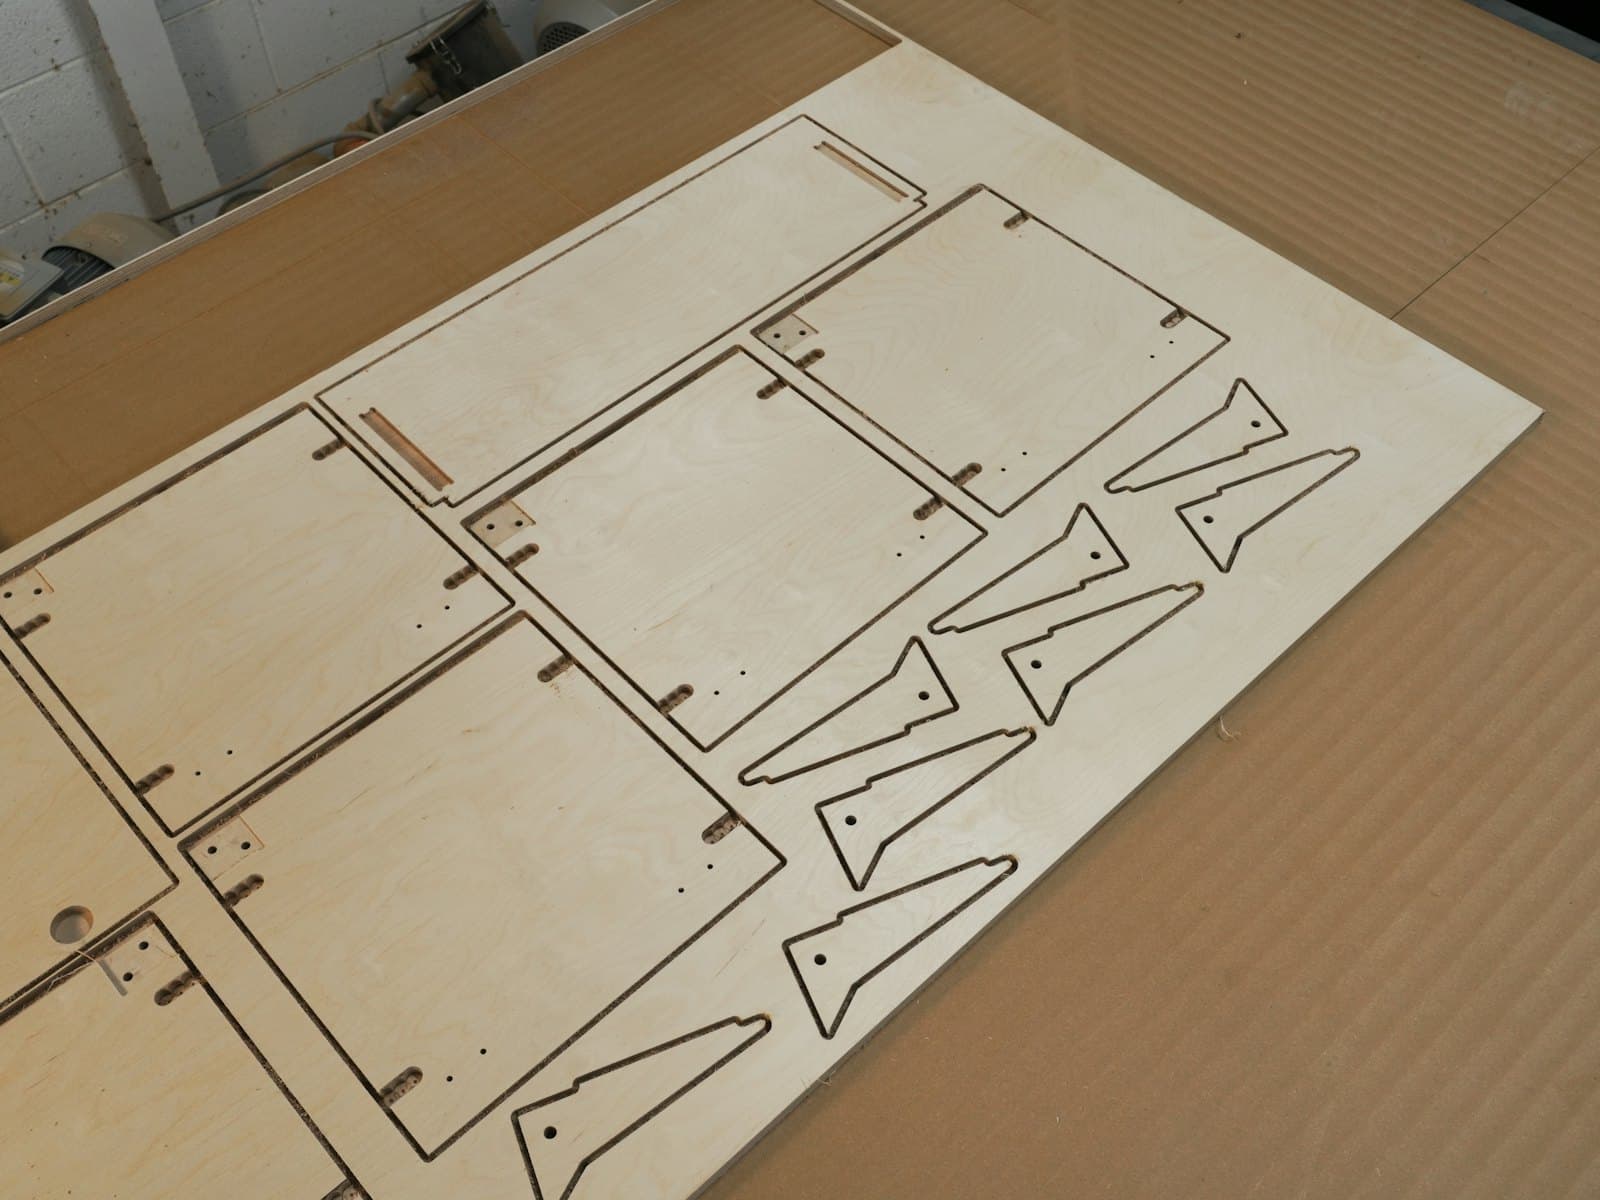
You get an email with the downloads: DXF and SVG with one layer per operation, STEP, PDF manual, bill of materials and datasheet. Up to 5 downloads per file, always from your account.
- 03
Buy the material
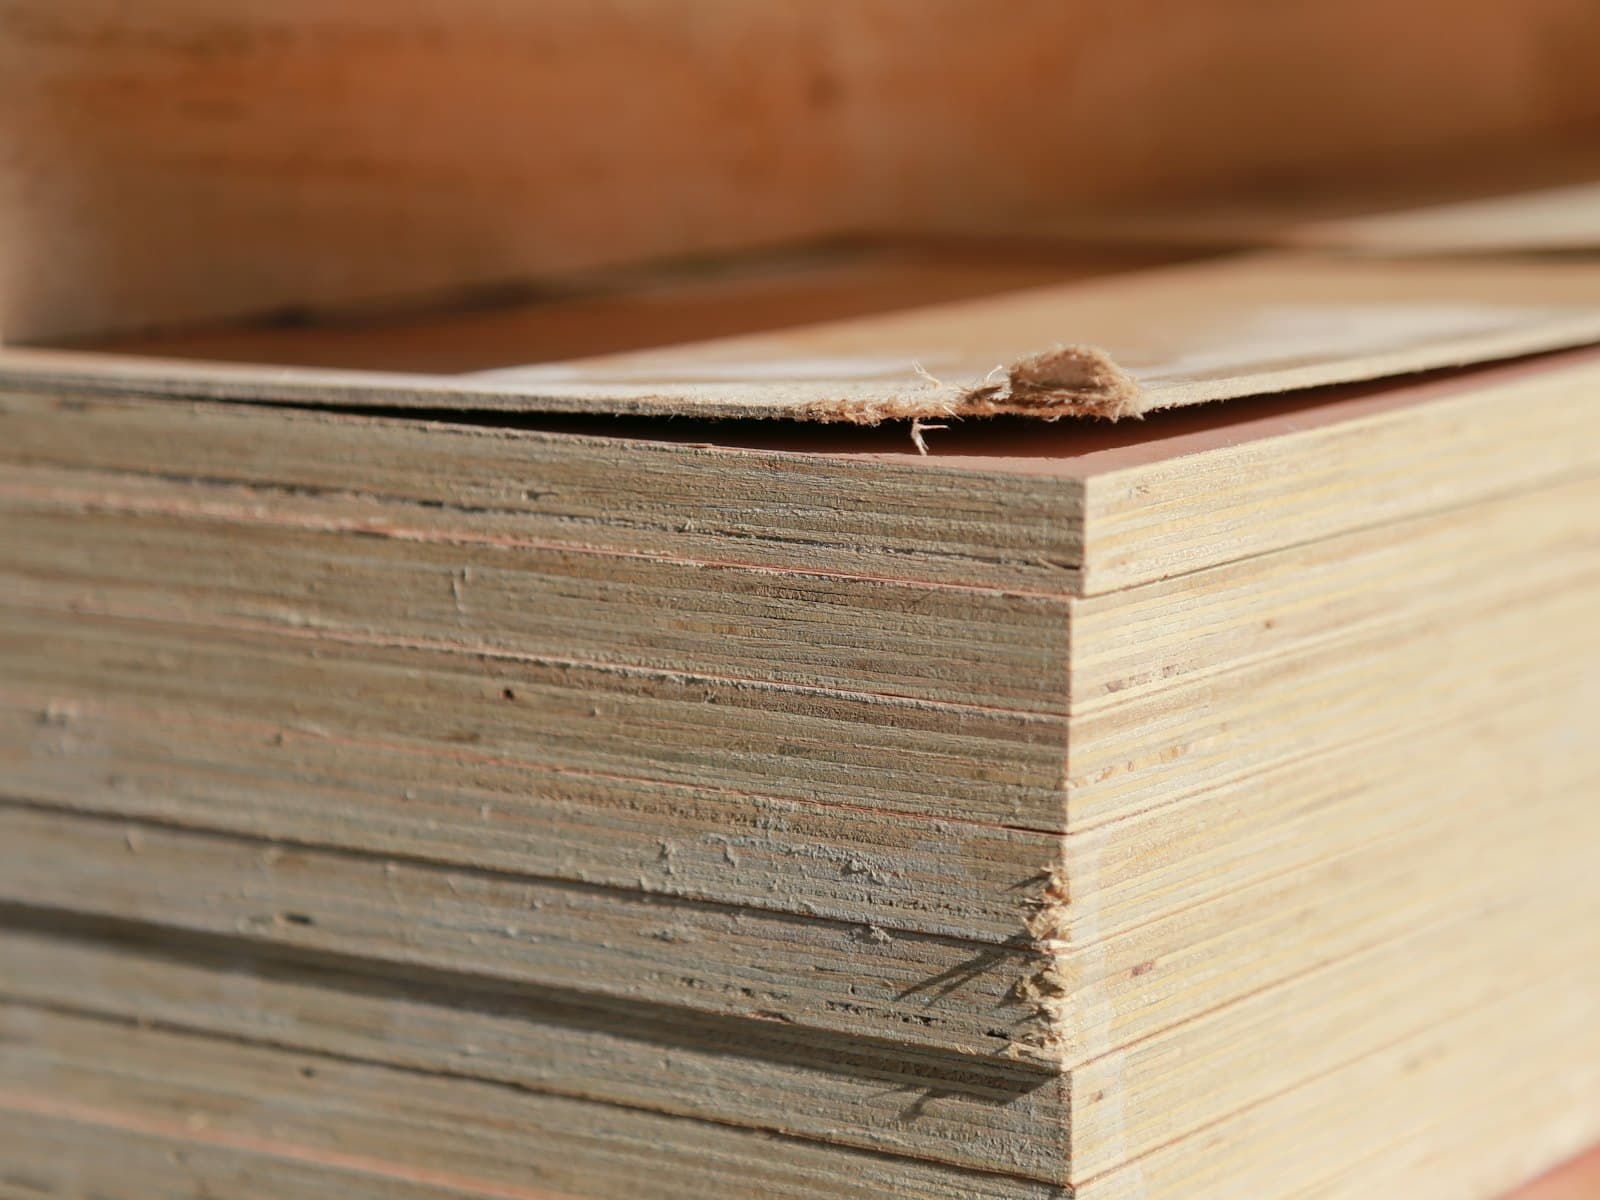
Guatambú plywood in the thickness the datasheet specifies. The bill of materials tells you how many sheets and which hardware, so you buy everything at once.
- Ask for 2440 × 1220 mm sheets; if the shop has a 2 m table, use the split version of the nesting.
- Measure the sheet's real thickness with calipers: the joints are adjusted to it.
- 04
Cut it at a CNC shop
Take the DXF and the sheet to any shop with a CNC router, or cut it on your own machine. You pay per machine hour; one sheet usually takes 40 to 90 minutes.
- Ask for a test piece of the joint before cutting everything.
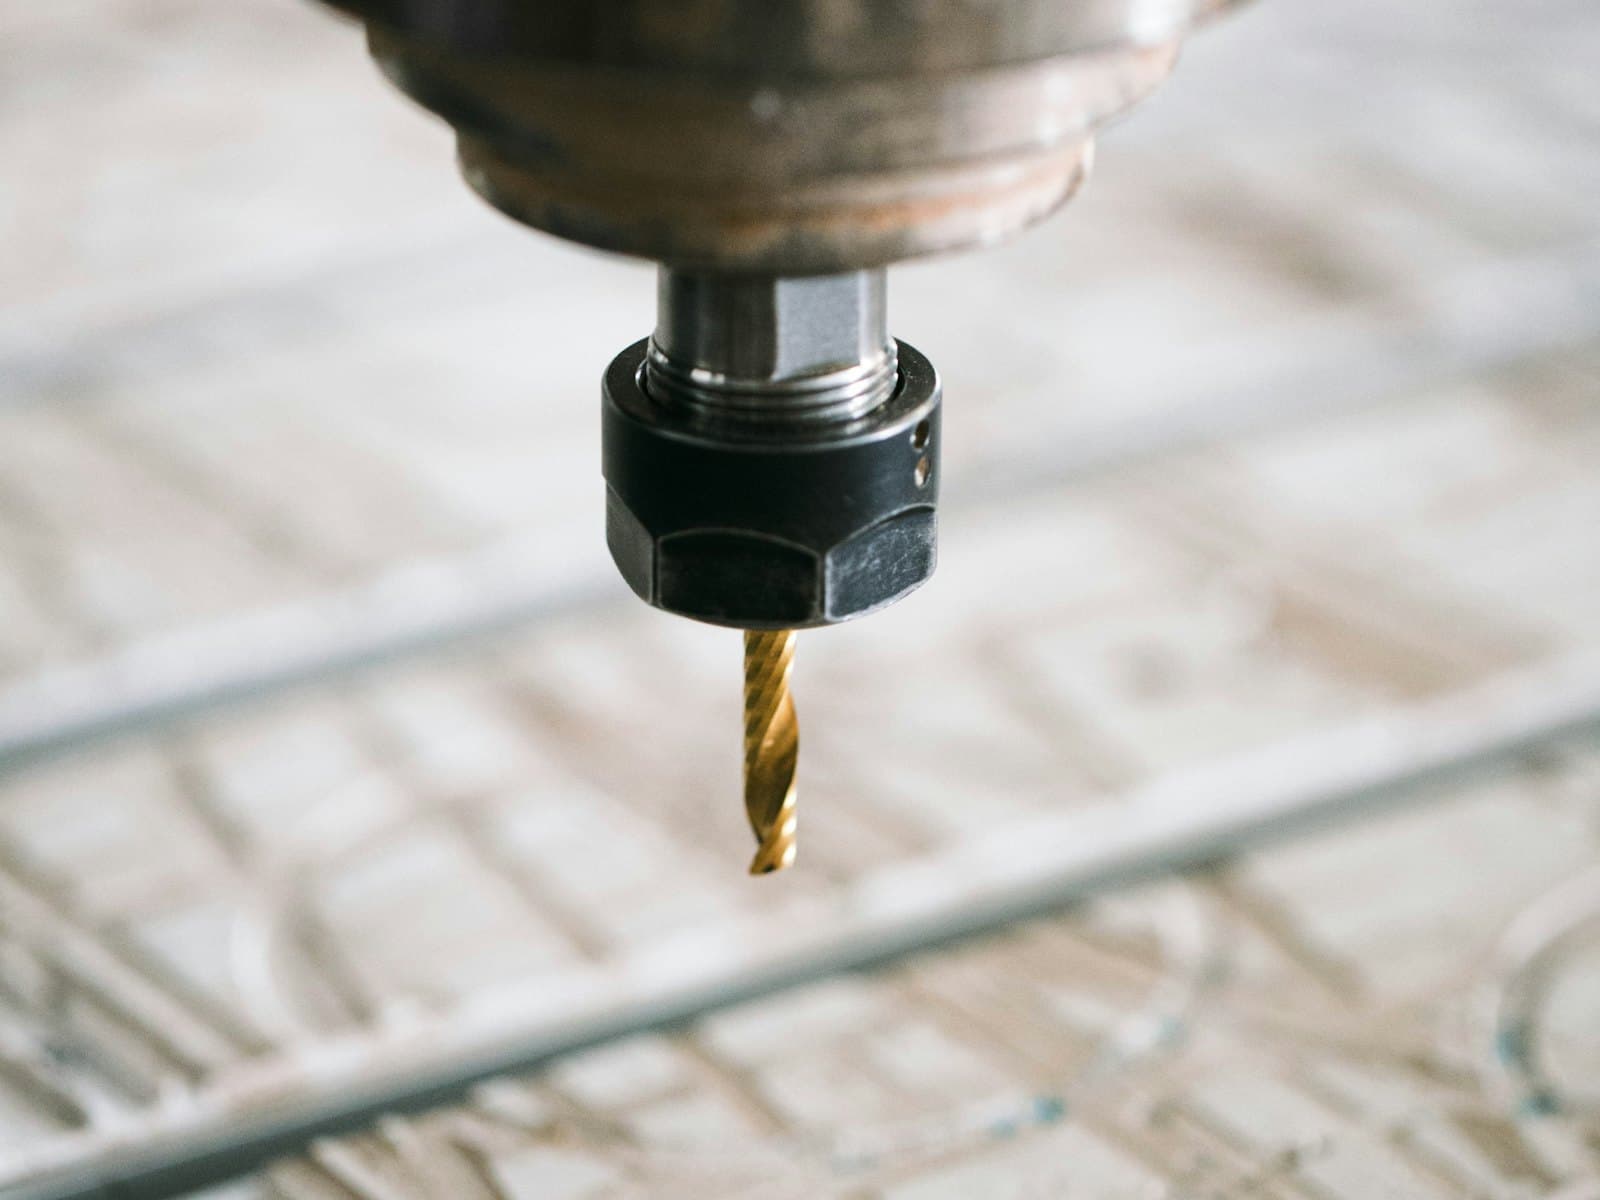
- 6 mm straight bit, 2 flutes, on every design.
- 05
Assemble it with the manual
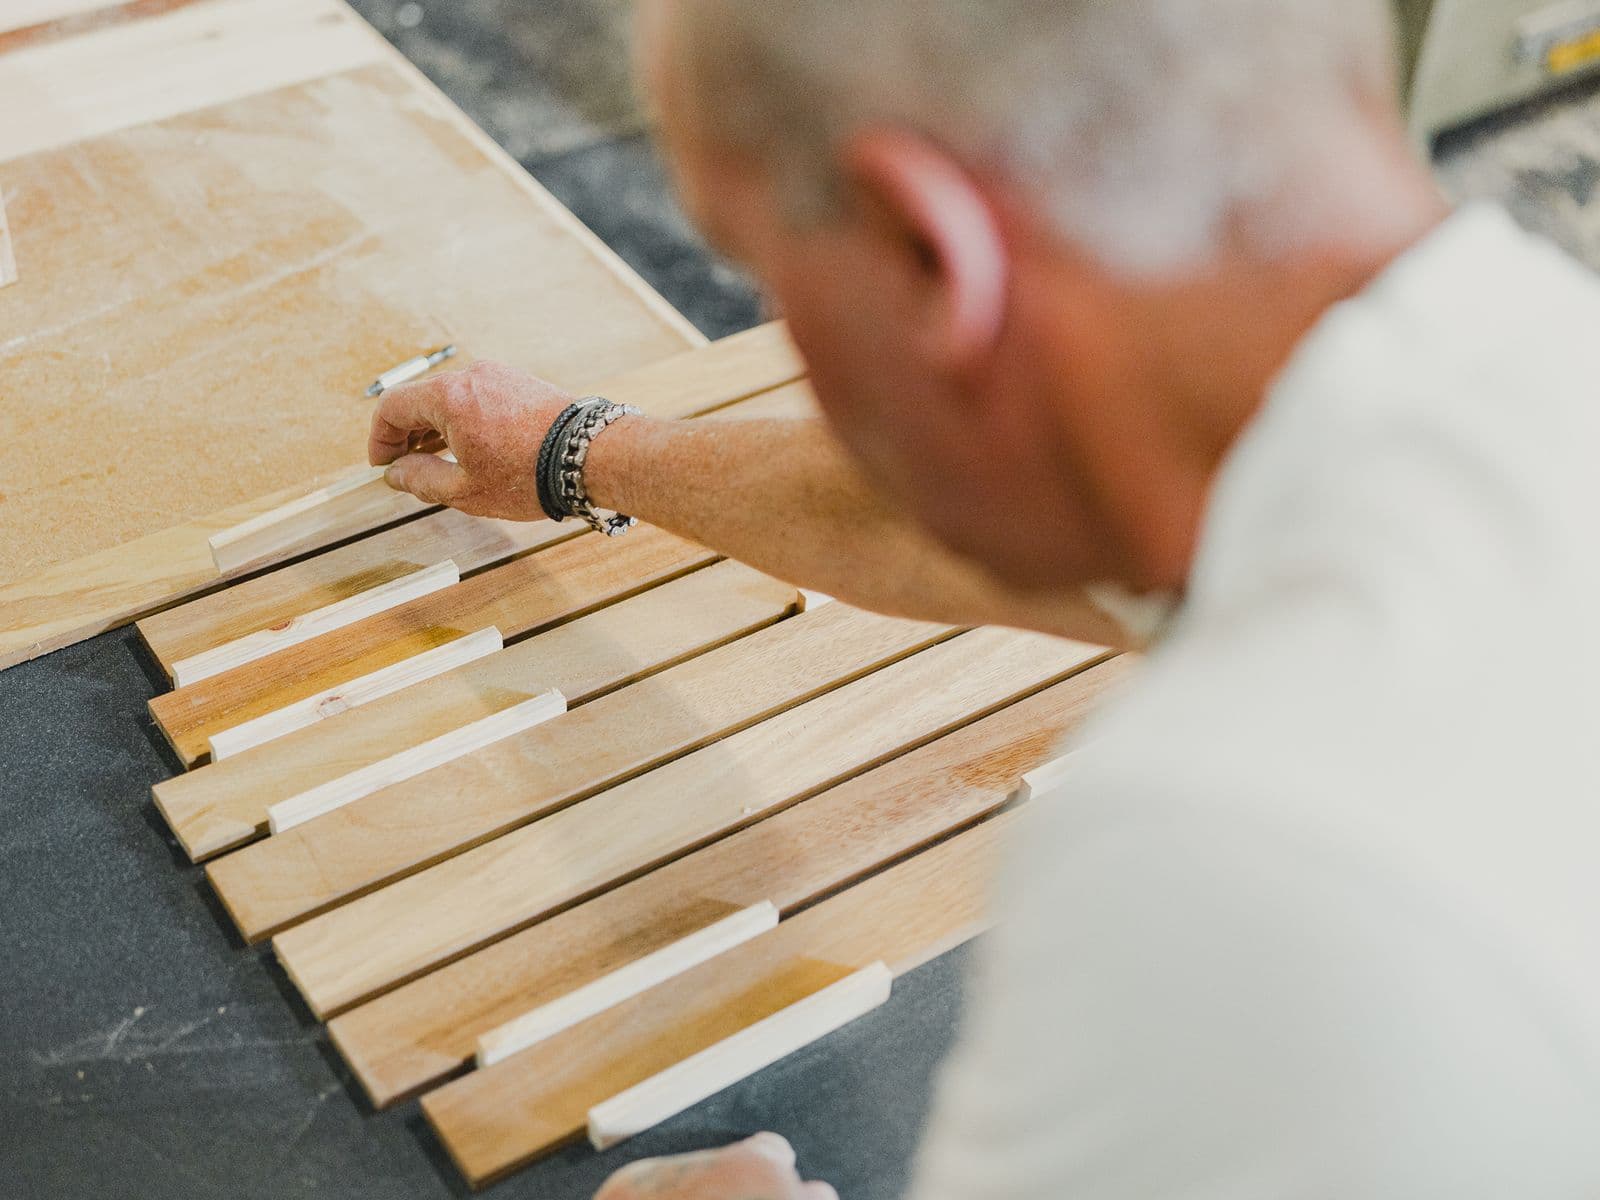
The PDF shows the assembly order with exploded views. The joints are press-fit; the few pieces of hardware are in the list. The estimated time is on each product page.
For the shop
What to ask the CNC shop
Copy this list to the shop; it is in the same order they will ask.
- 01DXF file with separate layers: CORTE (through cut), CAJEADO (pocket, depth indicated) and PERFORACION (holes).
- 02Plywood sheet of 2440 × 1220 mm, thickness per datasheet; check the real thickness with calipers.
- 036 mm two-flute straight bit; tool compensation already applied in the file.
- 04Cut the test piece first (PRUEBA layer) and check the joint before continuing.
- 05Leave 8 × 1.5 mm tabs on small parts so they do not move.
- 06Follow the grain direction indicated in the nesting.